At work I’ve been working with Swing GUIs and I heard about JavaFX as a modern alternative. I decided to give it a try by working on a self contained project and was very pleased with the results I got in just two hours.
The task
I have been thinking about visualizing all my photos (travel and otherwise) as a timeline and on a map, and associate each photo with a caption. It would provide an alternative way of reliving the past. The first step would be to display a list of image files, show the image, and associated metadata such as date, location which is what this post is about. The next steps (out of the current scope) would be to provide a way to annotate or provide comments to photos, and visualize them on a map and timeline.
Step 1: Get the tools
I already have IntelliJ, and creating a new JavaFx project was quite straight forward, literally File > New > JavaFX project. It gave me a few sample files, I ran it and it gave me a “Hello world” window. Awesome!
I had a priori knowledge that there was a JavaFX GUI builder that was similar to NetBean’s Swing GUI builder, which I used briefly at work, so I searched for it. It is called Java Scene builder and I was about to hit my first road bump. Java’s website is notoriously archaic compared to other modern language website. Searching on their website for the tool sent me to the page below. However, none of the links in the search results brought me to the correct download page. This was frustrating.
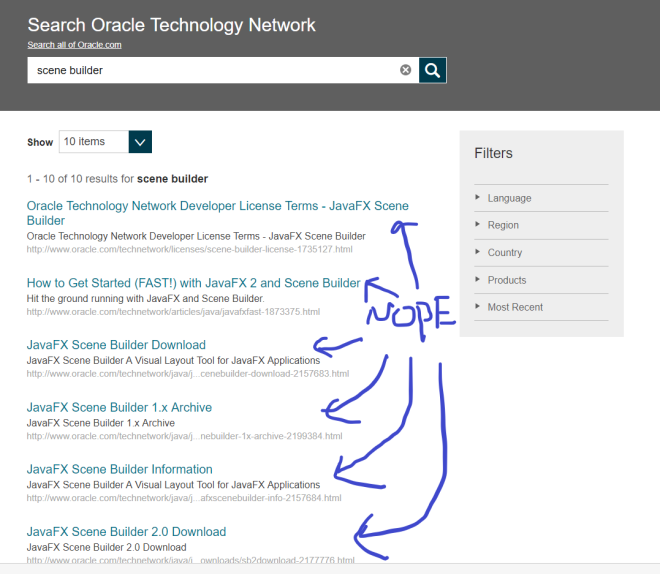
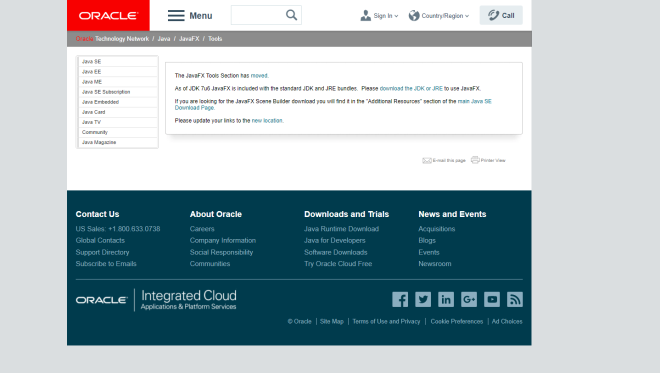
I spent 5 minutes trying to figure out where the download link was. For example, one of the links brought me to the page shown below. It seems logical to click on the link that has the word Download Page. But there will be no download links there. Apparently the correct link to click on is “moved”. Go figure.
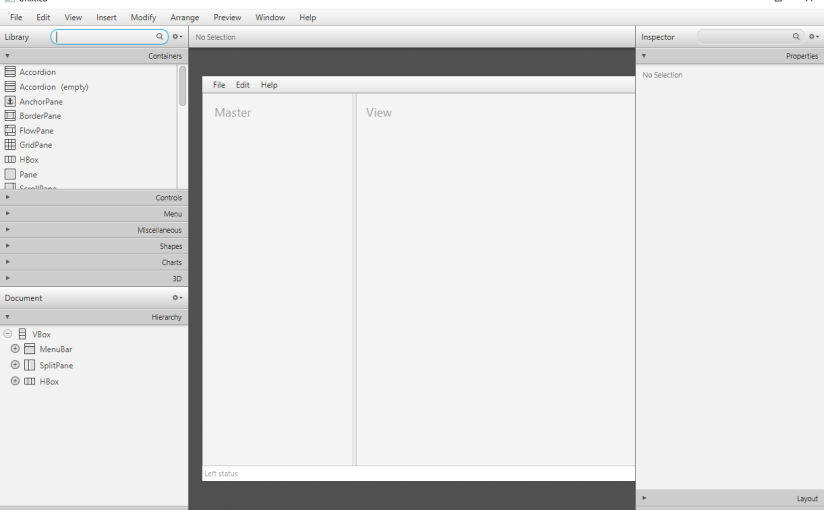
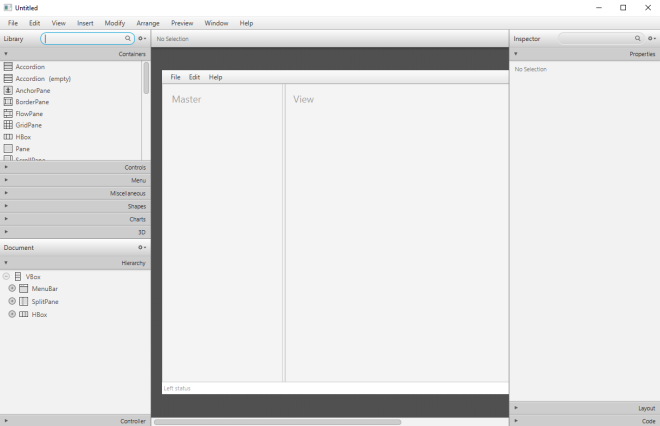
The saving grace was the smooth installation process. I started the Scene builder and was greeted with a rather modern looking UI, nice! There are even templates to help me get started. And detractors say Java’s boilerplate is a bad thing …
I chose a “complex application template” and using the given layout, I decided I would have a list on the left, the image viewer in the center, and metadata on the right.
At this point I was experiencing a gulf of execution. So I read some guides and watched some videos to help me.
Step 2: Tweaking the sample with baby steps
From the video and guides I learned that I could use the @FXML annotation to magically link class variables to GUI components defined in XML and they would be bound properly at runtime. The only criteria is the fx:id in the GUI matches the variable name. There were a few gotchas here and there, but they were minor enough that a simple search would reveal the answer immediately. These were mainly due to the unfamiliarity with the toolbars available in the GUI.
I tried to take small steps. I first tried to add a list view, and try to populate it. The documentation page really helped a lot, with the examples given.
Next, I wrote a small class that would return me all the image file in a folder and got the list view to show all files in a directory. So far so good.
public class ImageProvider {
    private final Path p;

    public ImageProvider(Path p) {
        this.p = p;
    }

    public Stream<Path> getImages() throws IOException {
        Stream<Path> list = Files.list(p);
        return list.filter(x -> x.toString().endsWith("jpg") || x.toString().endsWith("jpeg"));
    }
}
public void getData() throws IOException {
    ImageProvider imageProvider = new ImageProvider(Paths.get(imagesDir));
    Stream<Path> images = imageProvider.getImages();
    listItems = FXCollections.observableList(images.map(Path::toString).collect(Collectors.toList()));
}
Next I wanted to attach a listener so that when I click on an item on the list, it would load the image and display it.
When setting this up I noticed a few differences from Swing. In Swing, I would have dealt with the List collection, but here it’s an ObservableList instead. Next, I would have attached an ActionListener on the ListView and register a callback but here I had to go an extra level down and work with selectedItemProperty, whatever that is:
listView.getSelectionModel().selectedItemProperty().addListener((observable, oldValue, newValue) -> {
    statusBarText.setText(String.format("Old value: %s, new value: %s", oldValue, newValue));
    try {
        loadImage(Paths.get(newValue));
    } catch (ImageProcessingException | IOException e) {
        e.printStackTrace();
    }
});
Getting the image to load was fairly straightforward too: Create an ImageView in the GUI and then call setImage in the callback. My first attempt resulted in images appearing too small.
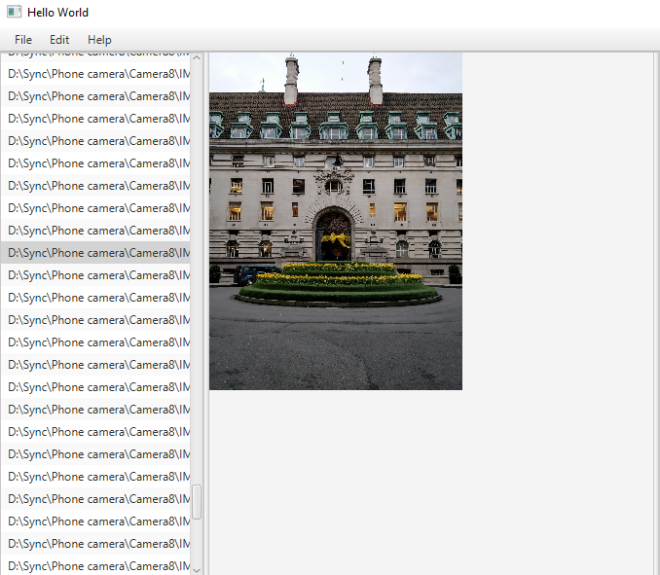
I spent a while trying to figure out how best to maximize the real estate space there and went for a naive solution which just sets the width and height property to that of the scene, which is assume is the middle open space.
public void loadImage(Path p) throws IOException, ImageProcessingException {
    BufferedInputStream is = new BufferedInputStream(new FileInputStream(p.toFile()));
    Image img = new Image(is);
    imageView.setImage(img);
    imageView.setCache(true);
    imageView.setPreserveRatio(true);
    imageView.fitWidthProperty().bind(imageView.getScene().widthProperty());
    imageView.fitHeightProperty().bind(imageView.getScene().heightProperty());
...
At this point, I’m quite satisfied with what I have so far. Next step was the get the metadata out. Looking at the Image API, it didn’t seem like there was anything useful to extract EXIF data. So I did a quick search and got pointed to https://github.com/drewnoakes/metadata-extractor.
Step 3: Pulling in a dependency
At work I use SBT to pull in dependency. I was also familiar with package managers like Golang’s go get, or NodeJS’s npm. But I had no idea how to pull in dependencies for Java. I didn’t want to use SBT because I felt that it was mainly for Scala.
With zero idea on how create a build file, I started clicking around IntelliJ hoping to stumble on the correct command. I know there were Maven, Ant and Gradle so I was looking out for one of those.
IntelliJ makes it easy to create a build file, I right click on my project, and chose add framework support and I clicked on Maven. It generated a pom.xml file and it all looks promising. Searching on http://search.maven.org/ gave me the snippet I needed to paste into the file. At this point I hit another slight bump, apparently the pom file messed up my intelliJ configuration and now it thinks I’m trying to compile my program with an older Java compiler. It took me a while to hunt down the relevant configuration and make it work for Java 1.8 again.
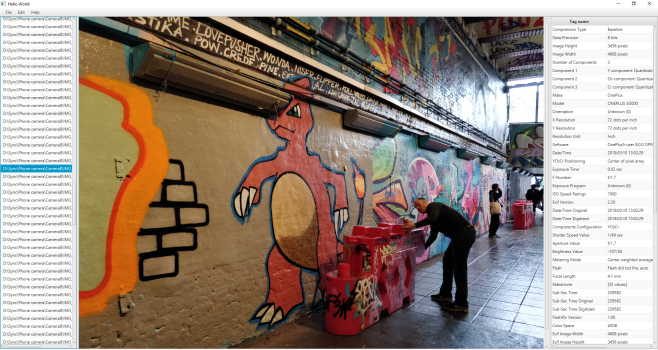
When Ctrl + F9 no longer complains. I decided to try the library. The getting started page provided useful snippets which I first tried printing on the console. They looked promising so now it’s time to use the right panel to display a table of metadata name and values.
The documentation page again provided useful snippets. The only problem was I needed to call a method instead of accessing a field, which was the only example given. So I had to figure out how to convert a normal String value into an ObservableValue type, which turns out to be trivial.
TableColumn<Tag, String> tag_name = new TableColumn<>("Tag name");
tag_name.setCellValueFactory(param -> new SimpleStringProperty(param.getValue().getTagName()));
TableColumn<Tag, String> tag_value = new TableColumn<>("Tag Value");
tag_value.setCellValueFactory(param -> new SimpleStringProperty(param.getValue().getDescription()));
metadataTableView.getColumns().setAll(tag_name, tag_value);
The final result is the following:
Closing remarks
For someone who has never touched JavaFX in his life, I think this is pretty good progress for 2 hours. In the past, I would have built a web GUI for visualization, and then write a backend server that hosts the front end and expose REST endpoints for logic but that route takes a much longer time. Unless I need my app to be accessible online, the architectural overhead is simply too high.
Even though I don’t fully understand all the concepts of JavaFX (such as all the Observables flying around) I was able to explore the API and achieve what I wanted which is not always a given.
Apart from the annoying Java website, the development process was enjoyable and the documentation and examples out there are really a great place for a beginner to get productive. The next time someone asks me for advice on how to start learning programming I might actually suggest they do a GUI project with JavaFX!


![dp[i]](https://s0.wp.com/latex.php?latex=dp%5Bi%5D&bg=ffffff&fg=333333&s=0&c=20201002) be the longest palindrome length for the palindrome that is centered at character i. We use a bottom up approach and fill the table dp. After that we find the maximum value in dp and retrieve the substring.
be the longest palindrome length for the palindrome that is centered at character i. We use a bottom up approach and fill the table dp. After that we find the maximum value in dp and retrieve the substring.

![dp[k]](https://s0.wp.com/latex.php?latex=dp%5Bk%5D+&bg=ffffff&fg=333333&s=0&c=20201002) , we can save calculations of
, we can save calculations of ![dp[n]](https://s0.wp.com/latex.php?latex=dp%5Bn%5D+&bg=ffffff&fg=333333&s=0&c=20201002) for
for ![k < n \le k + dp[k]](https://s0.wp.com/latex.php?latex=k+%3C+n+%5Cle+k+%2B+dp%5Bk%5D+&bg=ffffff&fg=333333&s=0&c=20201002) .
.![C = T[k], L = T[k-m], R = T[k+m]](https://s0.wp.com/latex.php?latex=C+%3D+T%5Bk%5D%2C+L+%3D+T%5Bk-m%5D%2C+R+%3D+T%5Bk%2Bm%5D&bg=ffffff&fg=333333&s=0&c=20201002) where
where  is the range on either side of the palindrome centered at C.
![dp[i] = dp[2C-i]](https://s0.wp.com/latex.php?latex=dp%5Bi%5D+%3D+dp%5B2C-i%5D&bg=ffffff&fg=333333&s=0&c=20201002) . In the other case, the palindrome extends beyond R so we have to manually calculate the length of this palindrome centered at i. However, we can speed up this calculation by noting that since this extends past R, it’s length must be at least R-i, so we can start comparing characters after that distance.
. In the other case, the palindrome extends beyond R so we have to manually calculate the length of this palindrome centered at i. However, we can speed up this calculation by noting that since this extends past R, it’s length must be at least R-i, so we can start comparing characters after that distance.